
Manage contact lists
How to create and manage contact lists.
Contact lists let you save and reuse groups of recipients for sending SMS messages. Instead of selecting individual recipients each time, you can create contact lists based on roles, job sites, or specific individuals, then quickly select the entire list when composing a message.
Create a contact list
To create a contact list, navigate to the Contact lists section of the SMS module and select Create contact list. In the dialog that opens next, specify a Contact list name. The rest of the steps are similar to the recipients selection step in the Send an SMS process.
NOTEContact lists are dynamic. For example, if you choose to create a contact list with all the employees assigned to a particular job site, the contact list will be automatically updated in case the list of assigned employees changes in the future.
View and edit contact lists
The Contact lists tab displays all saved contact lists in a table. The table contains the following columns:
- Owner. The name of the user who created the contact list.
- Name. The name of the contact list.
- Contacts. The identifier or group associated with the contact list (for example,
01-048 - PMfor a role-based list). - Visibility. Indicates who can access the contact list. Possible values include
Personal(visible only to you),Job sites(visible to users associated with the selected job site),Organization units(visible to users associated with the selected organization units), orGlobal(visible to all users in your organization). The visibility is determined by the sharing settings configured through the share action, which is discussed next. - Actions. Provides the following options for managing contact lists:
-
Copy: Opens the Create contact list dialog with the existing contact list name and contacts prefilled. This allows you to create a duplicate list that you can modify as needed.
-
Share: Opens the Share contact list dialog where you can change the visibility of the contact list by selecting Personal, Job sites (select the specific job site that gets access), Organization units (the option appears only if your organization is converted to an enterprise structure, or Global. The following screenshot shows the Share contact list dialog with the Job sites option selected and the job site selection dropdown expanded.
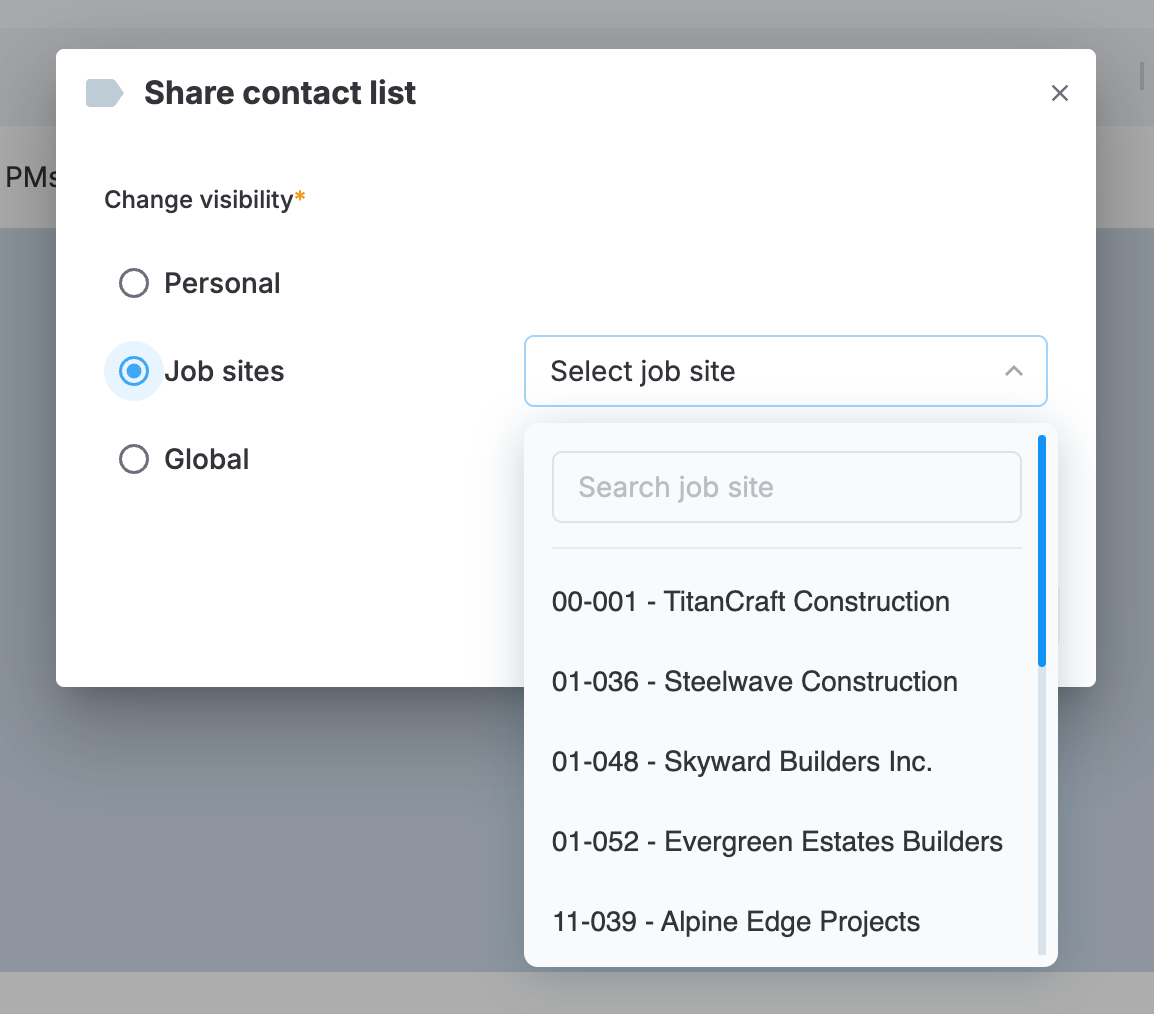
Sharing a contact list with a job site
-
Delete: Deletes the contact list.
-
Edit a contact list
To modify an existing contact list, select the contact list row in the table to open theEdit contact list dialog. This dialog is similar to the Create a contact list dialog where you can modify the name of the contact list as well as the list of contacts.
After making changes, select Save to update the contact list, or select Cancel to discard changes.
Updated 3 months ago